How to Make a Reel with Multiple Photos: A Step-by-Step Guide
Introduction

Instagram Reels have quickly become a major player in social media, offering a quick and engaging way to share short videos. But what about sharing a collection of photos? Creating a Reel with multiple photos is simple and opens exciting possibilities for visual storytelling. This feature is accessible to everyone, regardless of video editing skills. Whether you’re sharing vacation memories, documenting a project, or displaying a collection, understanding this process is a useful skill. Why? Because it boosts engagement. In a content-saturated world, Reels provide a digestible format that catches the eye, stops the scroll, and encourages interaction. This leads to greater visibility, stronger audience connections, and a more significant Instagram presence. Think about the Reels that grabbed your attention with a series of quick images. Now you can learn the same techniques, using multi-photo Reels to improve your own Instagram strategy.
Gathering and Preparing Your Photos

Excited about the potential of multi-photo Reels? Let’s start with the first step: choosing the right photos. This stage is fundamental, setting the groundwork for a successful Reel. Consider the story you're telling. Is it a travel diary, a product demonstration, or a behind-the-scenes glimpse? Your photo selection should reflect your narrative.
Curating Your Collection
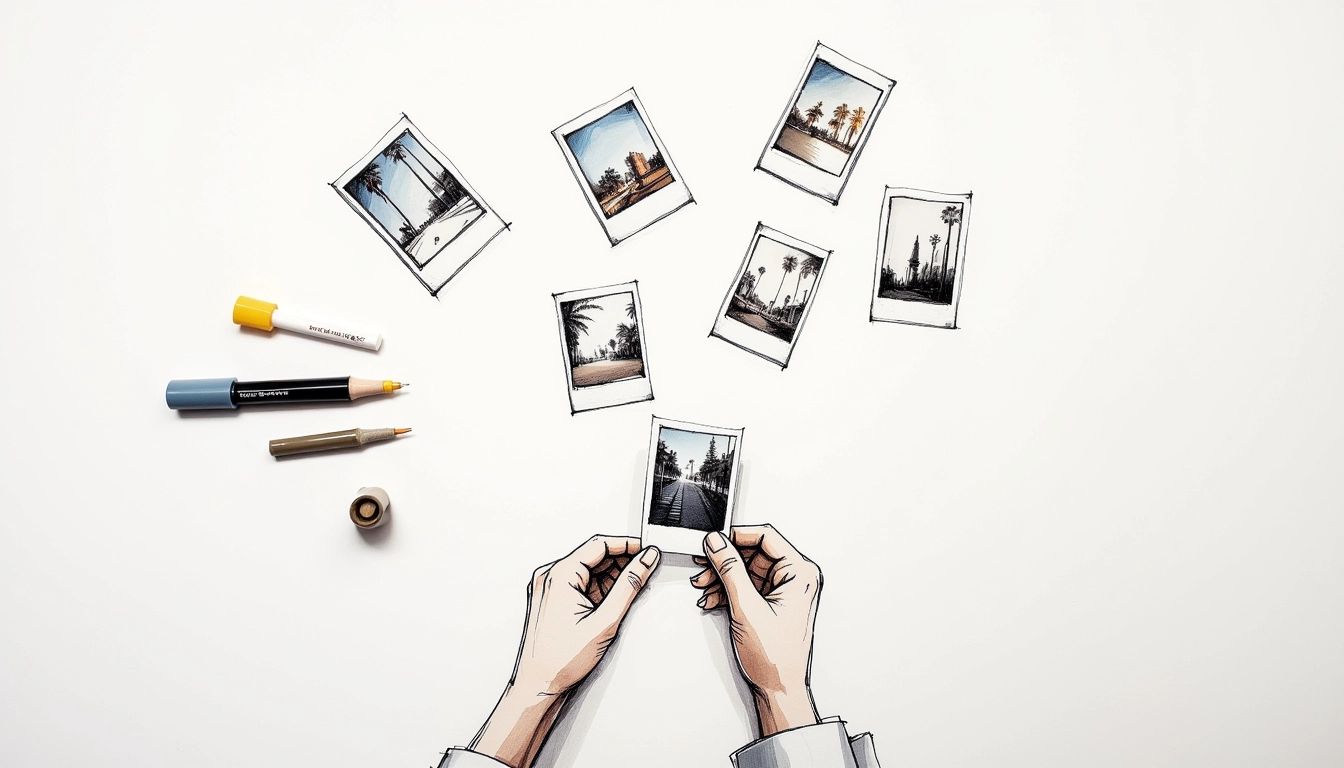
Gather all potential photos in a single location, like a dedicated folder on your phone or computer. This simplifies the selection process. Start with more photos than you need. Once gathered, begin narrowing down your choices. Look for images that are visually attractive, high-quality, and relevant to your story.
Sizing and Formatting for Success
Instagram Reels are vertical, so aim for a 9:16 aspect ratio. This maximizes screen space and provides the best viewing experience. While Instagram can handle other ratios, sticking to 9:16 avoids cropping or black bars. Consider the overall aesthetic. Do your photos have a consistent look? Think about color palettes, lighting, and composition. A unified visual style makes your Reel more polished.
If your photos aren’t the ideal size or need adjustments, you can edit them using built-in phone tools or photo editing apps. Cropping, adjusting brightness and contrast, and adding filters can enhance your images. These photos are the core elements of your Reel. Careful selection and preparation will ensure a final product that is both engaging and effective. Focusing on quality and consistency prepares your Reel to capture attention and retain viewers. Preparation makes your multi-photo Reel truly stand out, encouraging your audience to pause their scrolling and engage with your story.
Step-by-Step Creation Process
With your photos ready, let’s create your Reel. The process is surprisingly simple using Instagram's built-in tools.
Accessing the Reels Creation Tool
Open your Instagram app. Tap the '+' icon, as if creating a regular post. Select 'Reel' from the bottom options to open the Reels camera.
Importing Your Photos
Tap the small square icon at the bottom left to open your photo gallery. Locate the folder of photos you prepared. Select the photos you want to include. Instagram allows multiple photo selection, simplifying the process. A strong narrative rarely needs more than a few strong images. Focus on quality over quantity.
Adjusting Photo Duration
Your imported photos will appear in a timeline at the bottom of the screen, each with a default duration. Tap a photo in the timeline to adjust its display time. Short bursts create a fast-paced feel, while longer durations let viewers appreciate details. Experiment to find what best suits your story.
Previewing and Refining
Preview your Reel by tapping the play button. Check the pacing and reorder photos if needed by dragging and dropping them within the timeline. This fine-tuning stage can significantly improve your Reel’s overall impact.
Adding Creative Elements (Optional)
Before sharing, consider enhancing your Reel with text overlays for context or highlighting details. Experiment with stickers, GIFs, and filters. However, less is often more. Excessive effects can distract from your photos.
Finally, add a compelling caption and relevant hashtags when sharing to increase discoverability. Now you know how to create a multi-photo Reel, a powerful tool for creative expression and storytelling on Instagram. Practice and experiment – your confidence and skill will grow with each Reel you create.
Adding Transitions and Effects

Transitions and effects are key to captivating multi-photo Reels. They connect static images, creating a dynamic flow. Think of them as punctuation for your visual story, adding rhythm and personality. Let’s explore these creative tools.
Choosing the Right Transitions
Instagram offers various transitions, from crossfades to zooms, spins, and glitches. Choose transitions that complement your story and enhance, not distract from, your photos. For landscapes, a subtle crossfade or zoom creates immersion. For high-energy Reels, cuts or spins inject excitement. Experiment to find what works best.
Mastering the Art of Timing
Transition timing is crucial. A well-timed transition creates anticipation or humor. Consider your Reel's rhythm and pacing. Shorter transitions create a snappy feel, while longer transitions add drama or let viewers linger on an image. Experiment until you find the right flow.
Enhancing with Effects
Instagram offers effects that add polish to your Reels, from color adjustments to filters and overlays. Consider your desired aesthetic. A vintage filter adds a timeless feel, while a color boost adds energy. Add text overlays for context. The goal is to enhance, not overpower, your photos. Use effects sparingly. A simple, well-placed effect can elevate a photo.
Keeping it Consistent
While variety is good, consistency is key, especially for branding. For business Reels, develop a consistent style for transitions and effects to create a cohesive brand identity. This could involve using a specific transition or a branded color palette. Consistency creates a professional feel and reinforces your brand. It also simplifies the creation process for future Reels. Creating a multi-photo Reel is about storytelling. Transitions and effects are the tools that bring your story to life.
Music and Timing Tips

Choosing the right music and syncing it with your photos is like adding a soundtrack – it enhances the entire experience. Let's explore music selection and timing for Reels. This combination sets the mood, builds anticipation, and keeps viewers engaged.
Finding the Perfect Soundtrack
Instagram has a large music library. Consider your Reel's mood and message. Upbeat music works well for travel Reels, while trendy tunes suit product showcases. Reflective Reels benefit from slower, melodic tracks. Search for specific songs, artists, or genres. Experiment with different options. An unexpected music choice can make your Reel unique.
Syncing Your Photos to the Beat
Sync your photos to the beat for dynamic engagement. Instagram lets you adjust photo durations for precise timing. Short bursts synced to a fast beat create energy, while longer durations with a slower tempo evoke a relaxed or dramatic vibe. Experiment to find a seamless blend of visuals and audio.
Timing is Everything
Photo durations influence your story's progression. Think about rhythm and pacing. Rapid successions of photos convey excitement, ideal for action or product demos. Longer durations emphasize importance, build anticipation, or allow viewers to absorb details, perfect for showcasing scenery or highlighting product features. Vary durations to create an engaging rhythm.
Considering the Audio
If your Reel includes dialogue or voiceover, adjust music volume. Lower it during spoken parts for clarity and raise it during visual sections. This balance ensures audio and visuals complement each other, creating a rich experience.
Mastering these music and timing tips can transform your Reels into captivating visual stories. Creating compelling Reels involves experimentation. Explore different music and timings and enjoy the process!
Best Practices and Common Mistakes
Creating a multi-photo Reel is a great way to boost engagement. Like any creative endeavor, there are best practices and common mistakes to consider. These details can make a significant difference in your Reel's success.
Timing is Everything: Pacing Your Photos
Vary photo durations to create rhythm. A consistent duration can feel monotonous. Use short bursts for action and longer durations for detailed or impactful photos. Use timing to emphasize key moments and keep your audience engaged.
Transition Troubles: Avoiding Overkill
Overusing transitions can be jarring. Too many different transitions create a chaotic feel. Stick to a few complementary transitions that enhance, not distract from, your story. Subtle transitions are often more effective than overly flashy ones.
Music Matters: Setting the Mood
Music sets the tone. Avoid generic or unfitting music. A mismatched soundtrack can undermine your message. Find music that complements your Reel's theme and visuals. Choose music that reinforces the emotion you want to evoke.
Less is More: The Power of Simplicity
Avoid cramming too much into a single Reel. Reels are short-form content. Keep it concise. Too many photos, transitions, or text overlays overwhelm viewers. Choose your best photos, use transitions sparingly, and keep text brief. A clean and focused Reel is more effective.

Alexandru Golovatenco
Founder of YT Careers