Best YouTube Equipment for Beginners: Start Your Channel Strong
Essential Camera Equipment

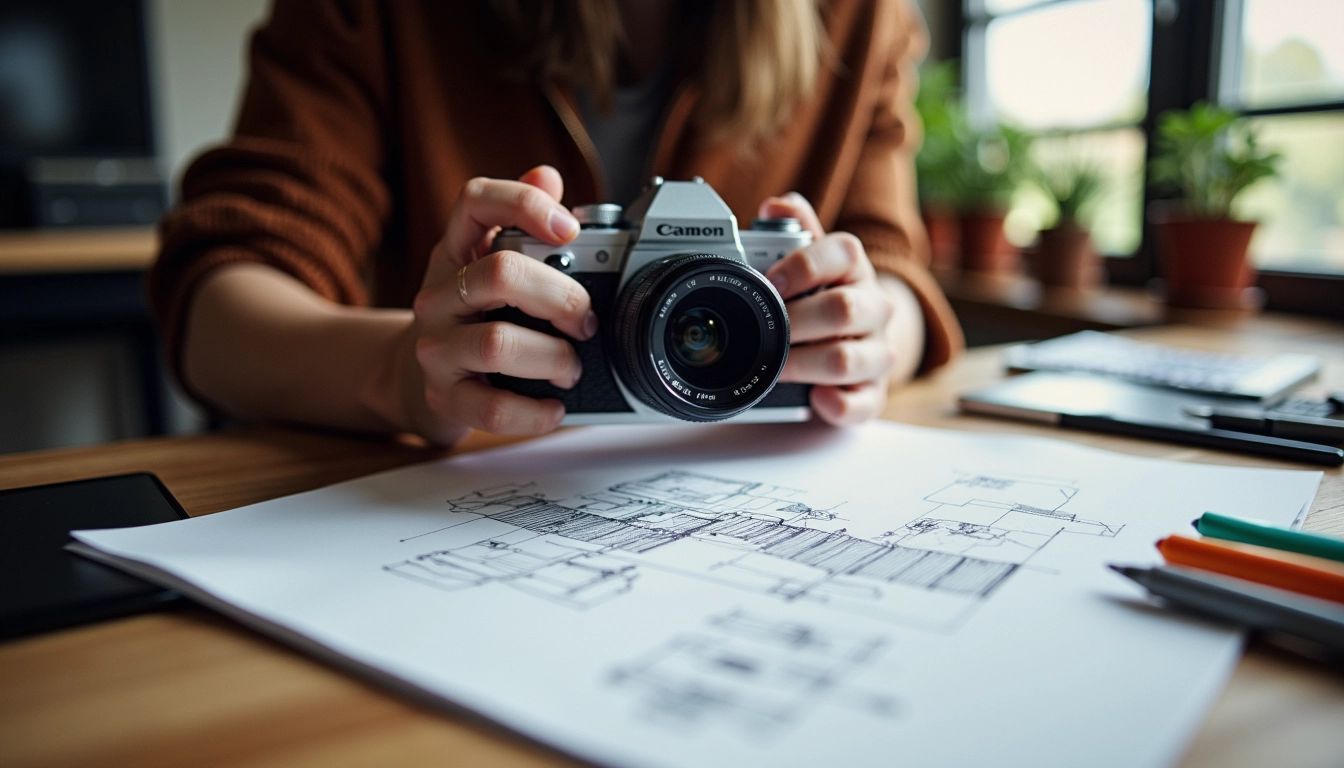
Choosing the right camera is a big decision for aspiring YouTubers. Creating great videos doesn't require spending a lot of money, especially when starting. Finding the best YouTube equipment for beginners is about balancing quality and cost. You can create engaging videos without top-of-the-line equipment. Many successful YouTubers began with basic equipment and upgraded as their channels gained popularity, proving that good content is more important than expensive gear.
Starting Simple: Webcams and Smartphones
For beginners, a quality webcam or your smartphone is a great starting point. Consider it your gateway to YouTube. Modern smartphones have impressive video capabilities, often comparable to dedicated cameras in image quality. Combine your phone with a tripod for stability, and you're ready to film! Webcams like the Logitech C920s HD Pro Webcam offer great quality at a reasonable price, making them a popular choice for new YouTubers. They're user-friendly, provide crisp video, and work well with computers.
Leveling Up: Vlogging Cameras and DSLRs
As your channel and budget grow, consider a vlogging camera or a DSLR. These cameras provide advanced features like interchangeable lenses, improved low-light performance, and better audio inputs. Vlogging cameras are designed for portability and easy use, perfect for on-the-go content. One YouTuber reached 75,000 subscribers using a mid-range vlogging camera like the Sony ZV-1, showing that smart equipment choices can lead to great results. For a more cinematic look, choose a DSLR. They offer greater control over your footage, allowing experimentation with depth of field and other artistic techniques.
Key Features to Consider
Regardless of your budget, look for these camera features for YouTube:
- Video Resolution: Choose at least 1080p (Full HD) for clear videos. 4K is growing in popularity, but it's not necessary for beginners.
- Audio Input: A quality microphone is vital. Make sure your camera has a jack for an external microphone.
- Image Stabilization: This reduces shaky footage, especially when filming handheld.
- Autofocus: Fast and reliable autofocus is essential.
- Flip Screen: A flip screen is very helpful for vlogging, letting you see yourself while recording.
Building a successful YouTube channel is about creating engaging content, not expensive equipment. Start with what you can afford, focus on your story, and upgrade your equipment as your channel and audience grow.
Lighting Setup Guide

Good lighting is as important as a good camera. It can transform amateur-looking footage into professional-looking content. Setting up good lighting doesn't need to be complex or expensive, especially when beginning and finding the best YouTube equipment for beginners.
Natural Light: Your Free and Powerful Ally
The best light, especially for beginners, is natural light. Position yourself near a window for even illumination. Avoid having the window directly behind you to prevent a silhouette effect. Overcast days provide soft, even lighting. Direct sunlight can be harsh and create unwanted shadows. Note how the light changes during the day to find the best filming time.
Artificial Lighting: Taking Control of Your Setup
Artificial lighting offers more control. Simple options like ring lights and softboxes can greatly improve your videos. A ring light provides flattering, even light, minimizing shadows, perfect for close-ups. Softboxes create diffused, natural-looking light, ideal for wider shots.
Three-Point Lighting: A Classic Technique
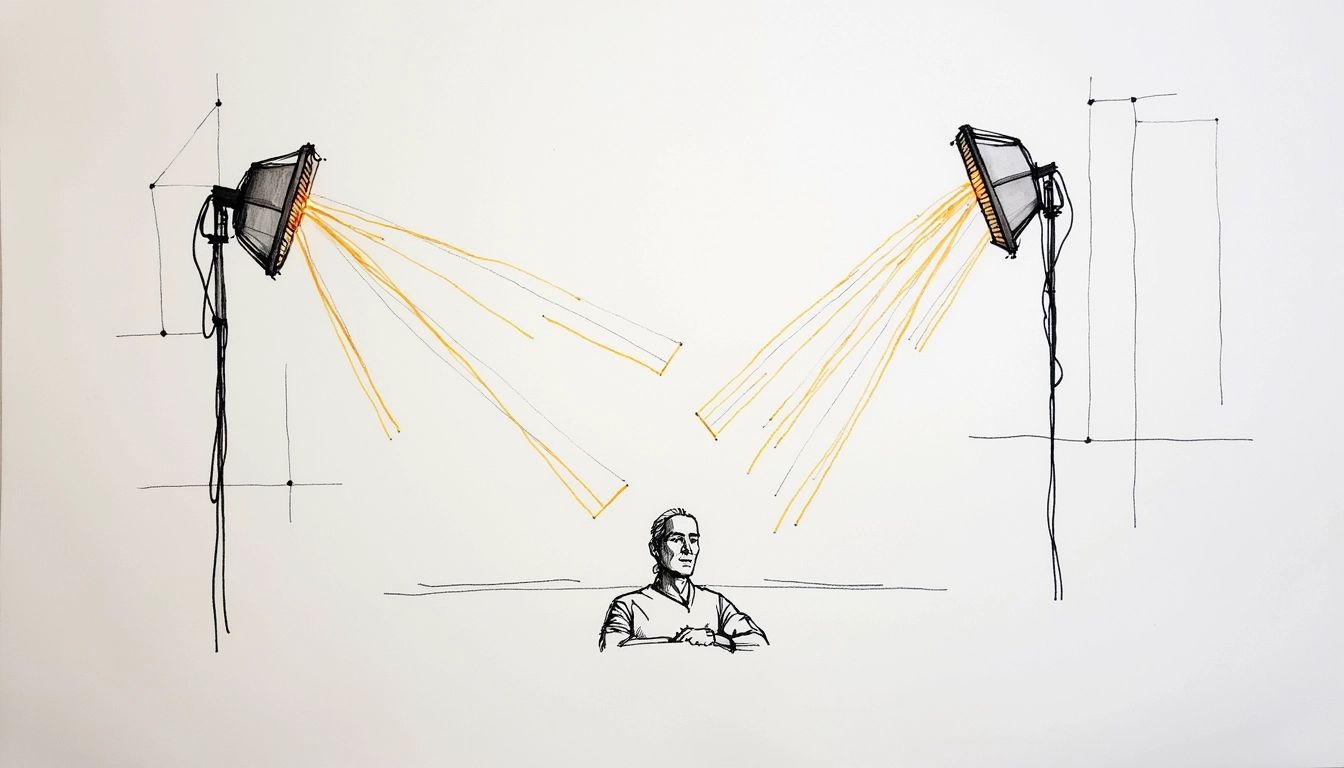
To improve your lighting further, consider a three-point lighting setup. This classic technique uses three lights:
- Key Light: The main light source, positioned slightly to the side and above your camera.
- Fill Light: Placed opposite the key light, this softer light reduces shadows.
- Back Light: Positioned behind the subject, this light separates the subject from the background, adding depth.
A full three-point setup isn’t essential initially, but understanding its principles helps you experiment. Even two lights can significantly improve your footage. A key light with a fill light creates a professional look without a large investment. Consistent lighting is key. Maintain a similar lighting setup for each video for a cohesive look. Experiment to find what works best. With practice, you can create polished, professional-looking videos, enhancing viewer experience and channel quality.
Audio Equipment Essentials
Clear audio is as important as good visuals for engaging YouTube content. Poor audio can ruin a video, even with the best camera and lighting. Good audio doesn't require an expensive setup. Especially for beginners looking for the best YouTube equipment for beginners, many affordable options can dramatically enhance your sound.
Microphone Selection: Finding Your Voice
Choosing the right microphone is essential. Here are a few options suitable for beginners:
- USB Microphones: These are an excellent place to start. They're plug-and-play, making them very easy to use. The Logitech ClearChat H390 offers decent sound quality at a budget-friendly price, making it a solid choice among the best YouTube equipment for beginners. These microphones are ideal for basic setups and voiceovers.
- Lavalier Microphones: These small microphones clip onto your clothing, providing clear audio even when moving. They're great for vlogs and interviews. They can be wired or wireless, offering flexibility. A quality lavalier microphone can greatly enhance your sound, particularly when background noise is a problem.
- Shotgun Microphones: These directional microphones primarily pick up sound from where they're pointed. This minimizes background noise, making them ideal for interviews or filming outdoors. They might require slightly more setup, but the improved audio makes it worth the effort.
Basic Audio Setup: Getting the Most From Your Microphone
After selecting your microphone, optimize your audio setup:
- Reduce Background Noise: Close windows and doors to minimize distractions. Film in a quiet area. Small adjustments make a big difference.
- Microphone Placement: Position your microphone close to your mouth, but not too close. Experiment to find the best position. For USB microphones, a pop filter can reduce plosive sounds.
- Monitoring Your Audio: Wear headphones while recording to catch any audio problems in real time, avoiding re-shoots.
- Audio Editing Software: Even with a good setup, some editing might be needed. Free software like Audacity offers basic tools. Small edits can significantly improve clarity.
Finding the best YouTube equipment for beginners is all about balancing quality and ease of use. Start with the basics, focus on clear sound, and remember that good audio keeps viewers engaged. As your channel develops, you can explore more advanced audio equipment. For now, prioritize clear, compelling sound.
Background and Sets

Your background contributes to your YouTube videos. It sets the atmosphere, adds context, and influences how viewers see you and your channel. When looking for the best YouTube equipment for beginners, a well-designed set is important. You don't need a studio to create a visually appealing background. Small changes can have a big impact.
Simple Background Ideas for Beginners
- Clean and Uncluttered: A simple background is often best, especially when starting. A plain wall, organized bookshelf, or tidy room works well. This keeps the focus on you.
- Adding Depth: If a plain wall is too basic, add depth. A few plants, artwork, or shelves can add visual interest without being distracting. One YouTuber experienced a 15% increase in viewer engagement simply by adding plants, showing how small changes can be effective.
- Utilizing Natural Light: Film near a window to utilize natural light. This brightens your background and creates a welcoming atmosphere. Avoid having the window directly behind you.
Creating a Consistent Look
Consistency helps build a recognizable YouTube brand. Choose a background matching your channel's theme and keep it consistent. This connects viewers with your content and creates familiarity. Consider colors, textures, and overall style. A consistent background also looks more professional.
Leveling Up Your Background
As your channel grows, you might want a more sophisticated background. A backdrop stand with a solid color or patterned backdrop creates a studio feel. You can also try different props and decorations. For beginners seeking the best YouTube equipment for beginners, a solid background idea is the foundation. Aim for a background that complements your content and enhances the viewing experience.
Editing Software Options

With your camera, lighting, and audio set up, it's time for video editing! The right software is essential. Fortunately, finding the best YouTube equipment for beginners includes accessible editing software. You don't need professional editing skills to make compelling videos. Many user-friendly choices let you learn the fundamentals and create great content easily.
Free and User-Friendly Options: Getting Started with Editing
Free editing software is a great starting point for beginners. They offer basic tools perfect for learning the basics. iMovie, pre-installed on Macs, is an excellent choice. It's intuitive and provides essential features. Many successful YouTubers started with iMovie. DaVinci Resolve, another free option, offers a wide array of features, even in its free version. It's a little more complex than iMovie but offers more control.
Leveling Up: Exploring Paid Software for Advanced Features
As your editing skills improve, you may want advanced features. Paid software like Adobe Premiere Pro and Final Cut Pro offer more tools and capabilities. Premiere Pro is an industry standard known for its versatility. It's a popular choice for professional YouTubers, but it requires a subscription. Final Cut Pro, for Mac users, has a sleek interface and focuses on performance. While these paid options are pricier, they can enhance your editing skills and help you create professional-looking videos.
Key Features to Look for in Editing Software
Whether using free or paid software, consider these features:
- User-Friendly Interface: A clean and intuitive interface is essential, especially for beginners.
- Basic Editing Tools: Features like cutting, trimming, text, and transitions are must-haves.
- Audio Editing Capabilities: Adjusting audio levels, adding music, and reducing noise is important.
- Export Options: The software should export in various formats suitable for YouTube.
- Color Correction and Grading: These features adjust colors for a polished look.
The right editing software can significantly improve your videos. Start with free options to learn, then consider paid software for advanced features. The best software meets your needs and helps you create engaging content. Experiment to find what suits your style.
Budget Considerations
Starting a YouTube channel doesn't require a lot of money. Finding the best YouTube equipment for beginners is about balancing quality and budget. Tons of YouTubers gained 100k+ subscribers with a mid-range vlogging camera or even with a smartphone. Good content is key, even with basic equipment.
Initial Investment vs. Long-Term Growth
Consider your initial budget and how you'll invest as your channel grows. A basic setup with a webcam, USB microphone, and tripod can be purchased for under a few hundred dollars. Upgrade as your channel progresses. The average small home-based business, including many YouTube channels, invests about $5,000 initially and another $40,000 in the first year. While this is a benchmark, your YouTube start can cost much less.
Prioritizing Your Spending: Where to Focus Your Budget
Focus on audio and lighting first. A USB microphone like the Logitech ClearChat H390 considerably improves audio and is affordable. Basic lighting like a ring light or softbox improves visuals without a big investment. Later, consider upgrading your camera and editing software.
Free vs. Paid: Making the Right Choices
Many free resources are available. iMovie is excellent for beginners. Many successful YouTubers started with it. As your skills improve, consider paid software like Adobe Premiere Pro or Final Cut Pro. Use royalty-free music and sound effects.
Smart budgeting helps build a successful channel. Start affordably, prioritize essential upgrades, and reinvest as your channel grows. Don't let budget limit you.

Alexandru Golovatenco
Founder of YT Careers